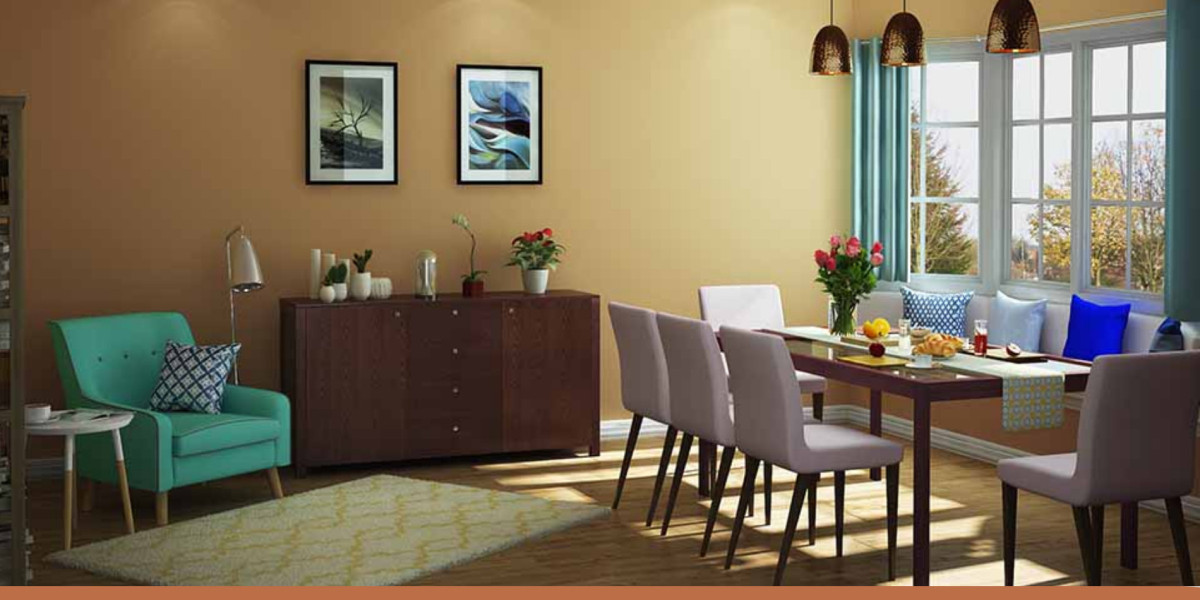
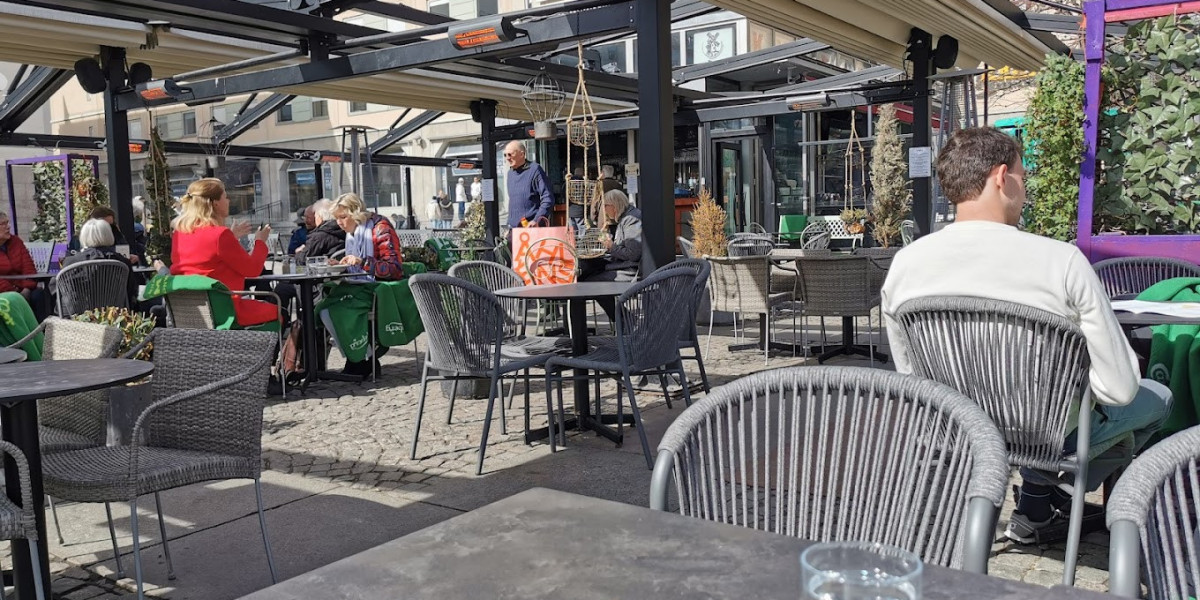
In today’s competitive design landscape, photorealistic rendering has become more than just a skill—it’s an expectation. Whether you’re working in an architectural rendering company or offering freelance architectural rendering services, the ability to deliver lifelike visuals is key to attracting clients and showcasing design potential.
Photoshop, traditionally known for photo editing, is a powerful tool for elevating your renders. With the right techniques, you can turn basic outputs from 3D software into stunning photorealistic images. This article explores essential Photoshop tips and tricks to improve your rendering game and how they apply across architectural 3D modeling, 3D architectural visualization services, and more.
Why Use Photoshop for Rendering?
While tools like V-Ray, Lumion, and Enscape are known for rendering, Photoshop provides unmatched control in post-production. It's the go-to platform for enhancing lighting, applying textures, adjusting shadows, and adding realistic elements that turn ordinary renders into captivating visuals.
If you're involved in interior design rendering services or detailed 3D exterior rendering services, Photoshop can bridge the gap between a good render and a great one. It offers the flexibility needed to polish raw renders without re-exporting or re-rendering in 3D software.
1. Start with a Clean Base Render
The foundation of every photorealistic image is a clean base render. Export your render in high resolution and include multiple passes like diffuse, shadow, ambient occlusion, and reflection maps. Those offering 3D architectural visualization services should always ensure that the base image is well-composed, properly lit, and free of major errors. A solid base reduces the need for heavy Photoshop corrections, speeding up your workflow and improving consistency.
2. Use Adjustment Layers for Non-Destructive Editing
Adjustment layers in Photoshop let you tweak brightness, contrast, color balance, and saturation without permanently altering your original image. This is particularly helpful when refining renders for architectural floor plan rendering or 3D floor plan services, where accuracy and clarity are essential.
Useful adjustment layers include:
Curves for tone and depth
Hue/Saturation to match environmental colors
Selective Color to fine-tune specific tones
Levels to control brightness and contrast globally
Working non-destructively allows for better revisions, especially when collaborating with teams or revising client feedback in a professional architectural rendering company.
3. Enhance Surfaces with Textures and Overlays
Textures bring realism to your image. Even the best base render can feel flat without surface details. When delivering 3D exterior rendering services, for example, you can enhance brick walls, pavements, and vegetation with subtle textures. Layer masks help you apply these selectively, and blending modes (like Overlay or Soft Light) help them blend naturally with the render.
4. Match Scale for Added Elements
Adding people, trees, furniture, or cars into your renders is common practice, especially in Architectural 3D walkthroughs and Architecture 3D animation presentations. But it’s crucial to match their perspective, scale, and lighting with the rest of the scene.
To do this:
Use the Transform tool (Ctrl+T) to adjust perspective
Match lighting by adjusting shadows and highlights
Apply blur or sharpening based on the camera's depth of field
These small adjustments make a big difference in convincing viewers that the inserted elements belong in the scene.
5. Create Realistic Shadows and Reflections
One of the easiest giveaways of an unrealistic render is a lack of proper shadows or reflections. For reflective surfaces—like windows, water, or floors—duplicate the element, flip it vertically, and reduce its opacity. Add a Gaussian Blur for softness. This trick is often used in interior design rendering services to enhance polished floors or mirrored elements.
6. Add Depth Using Atmospheric Effects
Photoshop lets you simulate atmospheric effects like fog, haze, or sunlight rays—elements that add depth and realism. These techniques are especially valuable for enhancing 3D architectural visualization services for outdoor or large-scale projects. For those offering 3D floor plan services, these techniques help distinguish areas of elevation, distance, or spatial separation.
7. Color Grading for Visual Consistency
Color grading helps maintain a consistent tone across multiple renders. Whether you’re building a presentation for a housing project or commercial complex, consistent color palettes look more professional and cohesive.
Try these for effective grading:
Apply LUTs (Look-Up Tables) for cinematic tones
Consider Gradient Maps for stylized visuals
If your architectural rendering services include branding or marketing materials, color grading ensures your visuals align with the project’s style guide or company branding.
8. Sharpen Important Details
Selective sharpening can draw attention to focal points like textures, furniture, or architectural elements. This technique works great when highlighting key areas in architectural floor plan rendering or when finalizing imagery for Architecture 3D animation previews.
9. Use Photoshop Actions for Efficiency
If you’re working on multiple renders for a large project, consider using Photoshop Actions. Actions automate repetitive tasks like resizing, color correction, and exporting, saving hours of manual work.
For architectural rendering companies, building a library of actions ensures consistent quality across different team members’ work and speeds up production pipelines.
10. Final Touches: Polish and Export
Before you deliver your render:
Zoom in and review every detail
Check alignment, lighting, shadows, and textures
Save in multiple formats (JPG for web, TIFF or PSD for edits)
Whether you're working on 3D exterior rendering services or an interior mockup, a professional final export makes your presentation or pitch stand out.
Conclusion
Photoshop isn’t just a finishing tool—it’s a creative playground for making architectural renders come to life. By using the right post-production techniques, you can elevate your projects, impress clients, and outshine competitors in the world of architectural 3D modeling and 3D architectural visualization services.
Whether you're a solo designer or part of a full-fledged architectural rendering company, mastering these Photoshop tips ensures your visuals aren’t just good—they’re unforgettable.
FAQs
Q: Can Photoshop be used for full architectural rendering?
A: Photoshop is best used for enhancing renders. It complements but does not replace 3D rendering software like Lumion or V-Ray.
Q: How does Photoshop improve 3D floor plan services?
A: It helps enhance textures, shadows, and lighting for clearer, more appealing architectural floor plans.
Q: What resolution should I use for architectural rendering in Photoshop?
A: Always render and edit in at least 300 DPI for print or 1920x1080 pixels for web use.
Q: Can I use Photoshop for Architecture 3D animation?
A: Photoshop is not suitable for animation creation, but can be used to polish storyboard frames or stills from animations.


